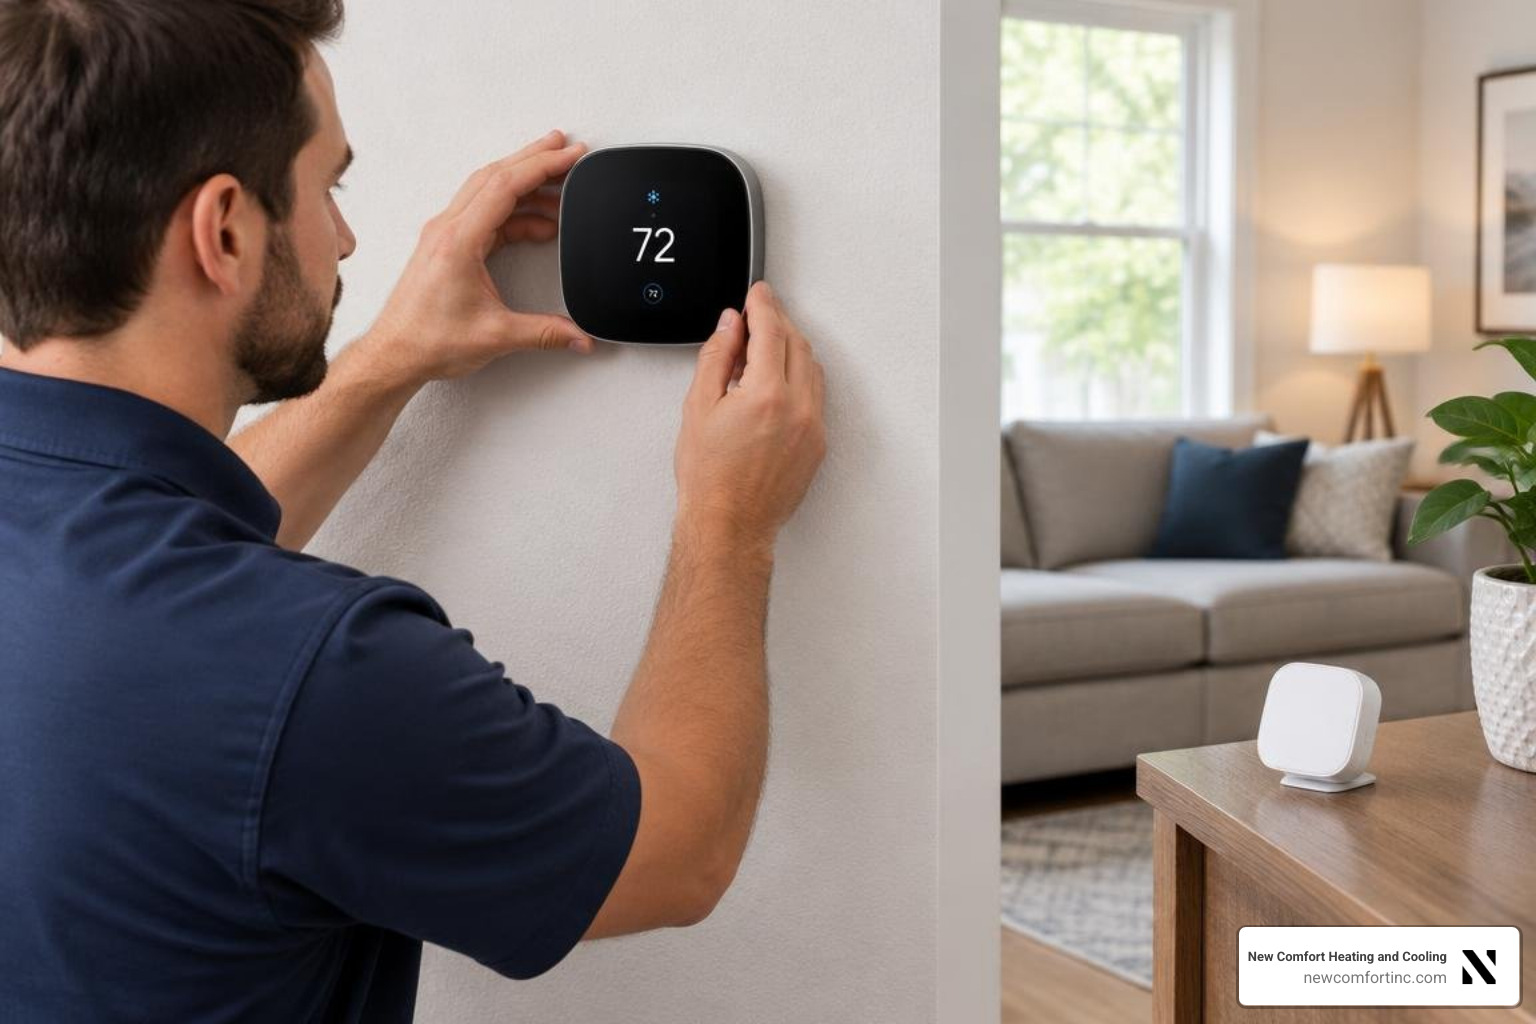
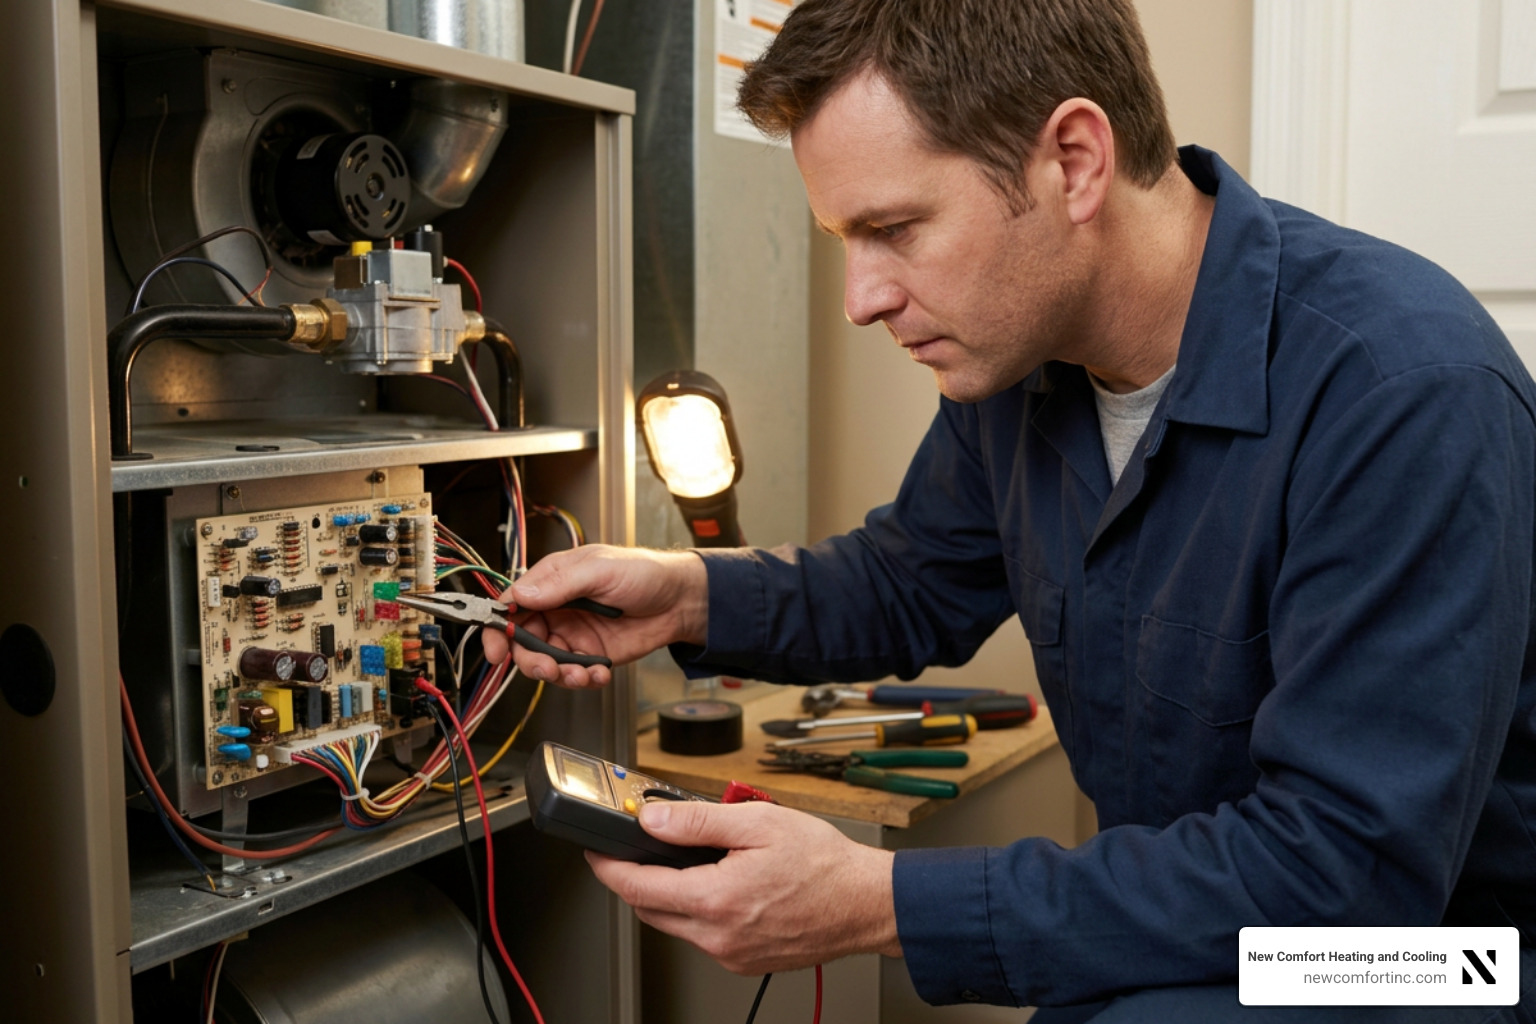
How to Find a Compatible Air Filter Replacement in 5 Steps
Air Filter Replacement: The Quick Way to Find the Right Fit
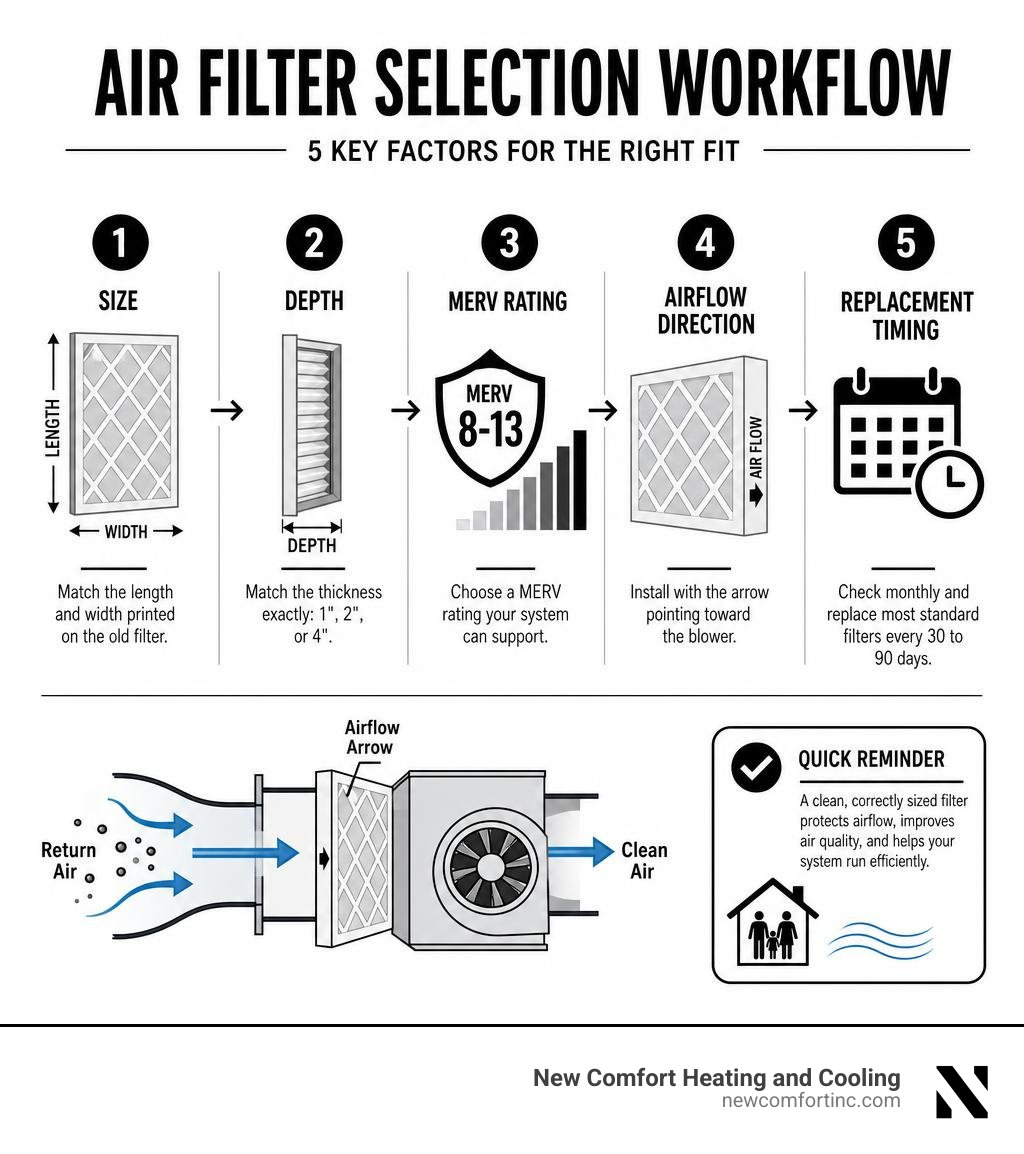
Air filter replacement is a simple home-maintenance task: match the filter's length, width, and thickness, choose a MERV rating your system can support, and install it with the airflow arrow pointing toward the blower.
| What to check | Quick answer |
|---|---|
| Filter size | Read the dimensions printed on the old filter frame. Common sizes include 16x25x1 and 20x25x1. |
| Filter thickness | Match the depth exactly, such as 1, 2, or 4 inches. |
| MERV rating | MERV 8 to MERV 13 works well for many homes, depending on pets, allergies, and system compatibility. |
| Replacement timing | Check monthly and replace most standard filters every 30 to 90 days. |
| Installation direction | Point the arrow on the new filter toward the furnace or air handler blower. |
A clean, correctly sized filter helps protect airflow, indoor air quality, and your heating and cooling equipment. A filter that is too small, too thick, too restrictive, or installed backward can let dust bypass the filter or make your HVAC system work harder.
This guide walks through five clear steps to identify a compatible filter and replace it with confidence.
Why Timely Air Filter Replacement Is Essential
Every time your heating or air conditioning runs, it pulls volume after volume of household air through your return ducts. Without a reliable filter, dust, pollen, pet dander, mold spores, and microscopic airborne particles would continuously circulate through your living spaces and settle across your delicate mechanical components. Performing a regular air filter replacement keeps your air fresh while safeguarding your equipment investment.
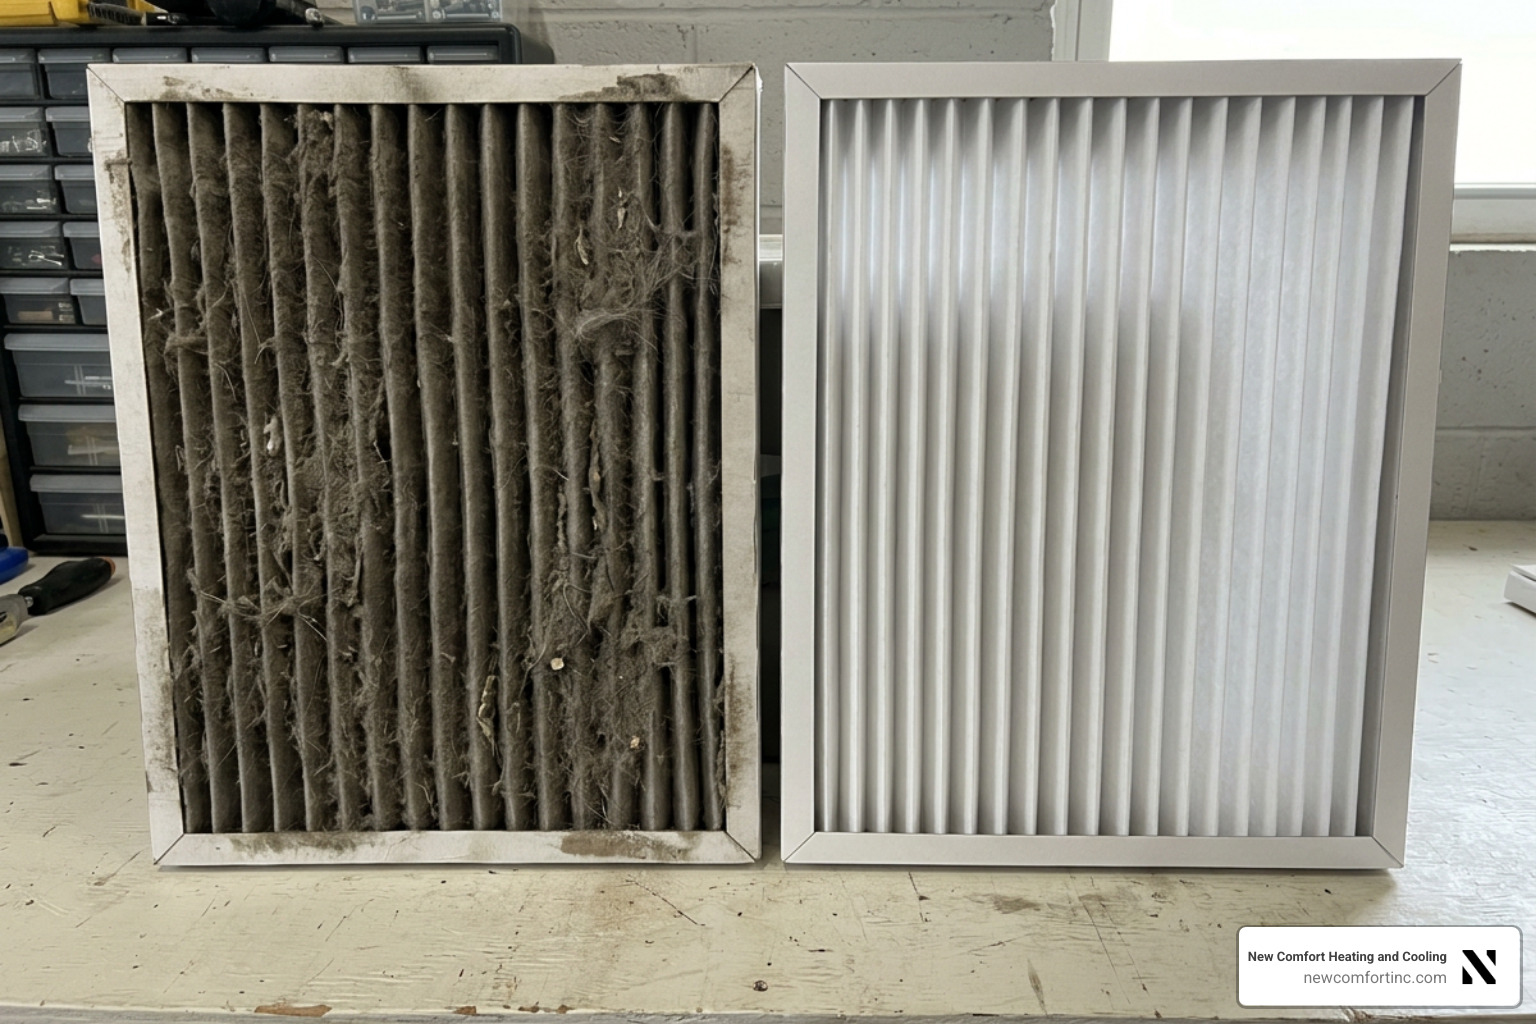
When a filter becomes clogged with captured debris, your furnace or air conditioner struggles to pull air through the system. This restricted airflow forces blower motors to work harder, leading to higher energy consumption and premature mechanical wear. In hot weather, choked airflow across your cooling coils can cause evaporator coils to freeze solid, leaving you without air conditioning on hot summer afternoons. In winter, restricted airflow causes heat exchangers to overheat, triggering safety shut-offs or cracking critical heating components.
To understand how a clean filter impacts daily performance versus an overdue, dusty filter, review this operational breakdown:
| System Performance Metric | Clean Air Filter | Clogged Air Filter |
|---|---|---|
| Airflow Velocity | Optimal design cubic feet per minute (CFM) | Severely restricted airflow across supply vents |
| System Energy Draw | Standard electrical consumption | Elevated energy draw and spiked monthly utility bills |
| Indoor Air Quality | Captures fine dust, pollen, and allergens | Allows dust buildup and recirculates trapped particles |
| Blower Motor Strain | Normal operation within factory limits | Overheating motor windings and mechanical strain |
| Coil & Heat Exchanger Status | Clean surfaces with optimal heat transfer | Frosted evaporator coils or overheating furnace heat exchanger |
By maintaining a strict schedule for your furnace and air handler filter swaps, you lower the likelihood of sudden system breakdowns. To explore how routine maintenance keeps operational costs low, check out our guide on HVAC Maintenance Lower Energy Bills Chicago. For a deeper dive into furnace component protection, review The Ultimate Guide to Filter Replacement for Furnace Longevity.
5 Steps to Choose and Install Your Replacement Air Filter

Replacing an air filter is a straight-forward process when broken down systematically. Here are the five key steps to ensure complete compatibility and peak performance.
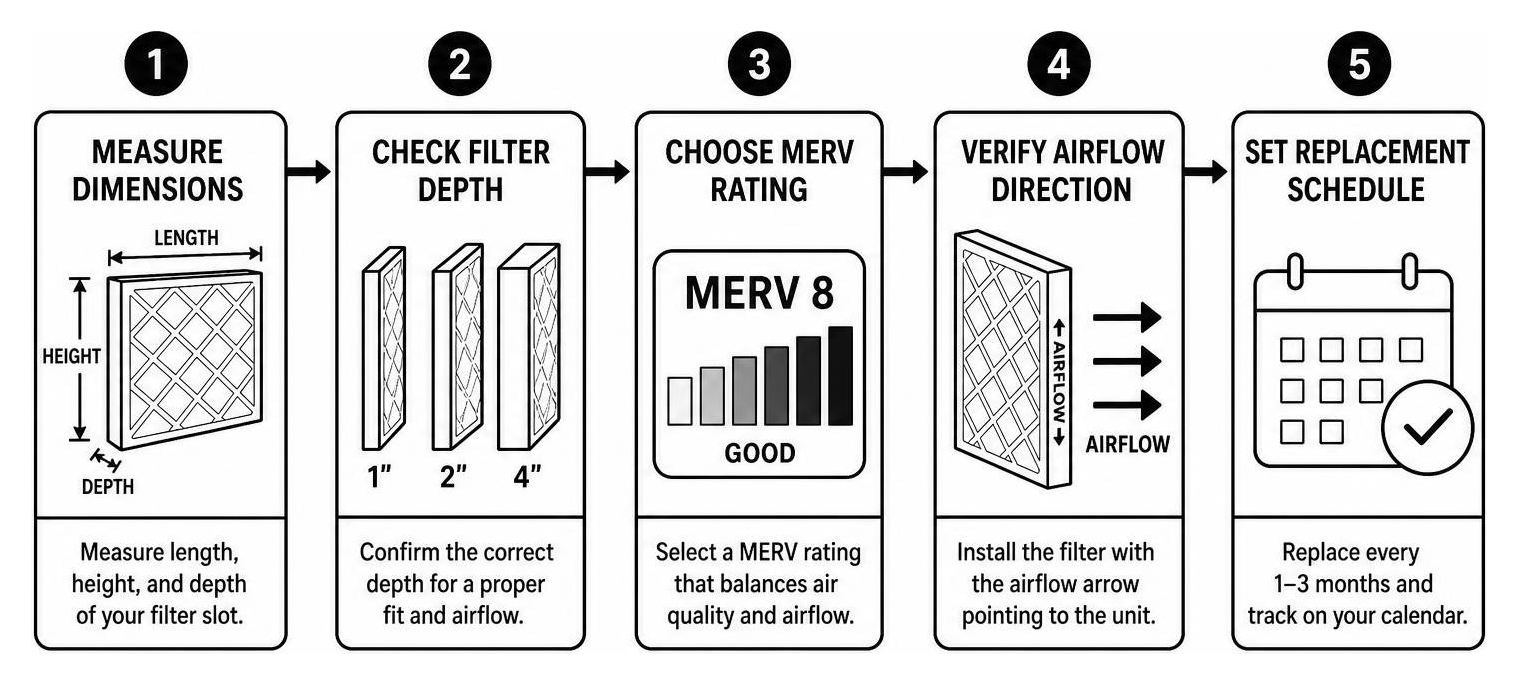
Step 1: Measure and Confirm Your Exact Filter Dimensions
Air filters are categorized by nominal size and actual size. The nominal size consists of rounded dimensions printed in large text on the cardboard edge of your existing filter frame (for example, 20 x 25 x 1). However, the actual measured dimensions using a tape measure are usually roughly a quarter to half an inch smaller so the frame slides smoothly into the filter housing slot.
Always double-check the dimensions printed on your current filter frame before ordering. If your old filter was tossed or the text is unreadable, carefully measure the physical filter slot opening across its length, width, and depth. Standard residential dimensions include:
16 x 25 x 120 x 20 x 120 x 25 x 116 x 25 x 420 x 25 x 4
An ill-fitting filter allows unfiltered air to leak around the edges—a process known as filter bypass—defeating the entire purpose of having an air cleaner in place.
Step 2: Select the Correct Filter Thickness and Cabinet Depth
Filter depth usually ranges from 1-inch thin panel filters up to 4-inch or 5-inch deep pleated media boxes. Deeper pleated filters feature a far greater surface area of filter media folded into the frame. This expanded surface area allows deeper filters to trap significantly more dirt and last up to six months without restricting airflow as quickly as thin 1-inch filters.
Never attempt to force a 2-inch or 4-inch filter into a narrow 1-inch filter housing slot. Forcing an oversized frame buckles the filter media, creating gaps for dirt to pass into your air handler. If your home HVAC unit was specifically built with a 1-inch slot, stick with 1-inch replacements unless a licensed technician retrofits your ductwork with a deep-media filter cabinet.
Step 3: Choose the Right MERV Rating for Your Home Environment
MERV stands for Minimum Efficiency Reporting Value, an industry rating scale spanning from 1 to 20 that measures how effectively a filter media captures particles of varying sizes. Matching the right MERV level to your household needs balances filtration thoroughness against airflow resistance:
- MERV 1 to 4: Basic fiberglass panel filters. They capture large lint and dust clumps but offer minimal protection against microscopic allergens.
- MERV 8: Standard pleated filters. Highly recommended for typical homes, capturing dust, pollen, dust mites, and mold spores while maintaining excellent airflow.
- MERV 11: High-efficiency allergen filters. Ideal for households with indoor pets or family members with mild allergy symptoms, capturing fine dander and auto emissions.
- MERV 13: Premium residential protection. Captures fine smoke particles, smog, bacteria, and microscopic droplets, offering superior indoor air purification.
While MERV ratings higher than 13 exist, ratings from 14 to 20 are generally reserved for hospital surgical bays and specialized cleanrooms. High-MERV filters require stronger blower motors to pull air through their dense material. Check your equipment manufacturer guidelines before upgrading to high MERV levels.
Step 4: Pick Your Preferred Filter Media Type and Order Delivery
You can choose from several core filter media designs:
- Fiberglass Filters: Inexpensive, disposable flat panels designed strictly to protect equipment from large debris, though they capture very little dust or allergen particles.
- Pleated Synthetic Filters: Made of woven polyester or cotton fibers shaped into folds. Pleated media provides superior capture capacity and structural strength.
- Electrostatic Filters: Feature self-charging synthetic fibers that attract lightweight micro-particles like a magnet.
- Activated Carbon Filters: Incorporate an activated charcoal layer to actively absorb and eliminate persistent cooking smells, volatile organic compounds (VOCs), and pet odors.
To avoid forgetting routine changes, many homeowners establish recurring auto-delivery filter subscriptions. Having replacement filters land on your doorstep every 60 to 90 days creates a effortless habit cue.
Step 5: Shut Down System Power and Install the Replacement
Before performing any hands-on replacement, switch off your heating and cooling system at your wall thermostat or main breaker panel. Open the filter compartment cabinet, carefully extract the old dusty element, and vacuum out loose dust from the slot. Slide the new filter into place, verifying that the perimeter edges sit flush without bending or gaps.
Step-by-Step Home Air Filter Replacement
Once you have purchased the correctly sized replacement filter, follow this installation sequence:
- Turn off system power at the thermostat switch or main HVAC electrical disconnect.
- Locate the return duct access panel, wall-mounted return grille, or cabinet slot between your return duct and furnace.
- Open the latch or unclip the filter housing cover door.
- Carefully pull out the dirty filter, placing it immediately into a trash bag to prevent dust from spilling onto carpet or floors.
- Inspect the printed directional airflow arrow on the outer cardboard frame of your new filter.
- Align the filter frame so the airflow arrow points directly toward the furnace cabinet or blower unit (and away from the return air ductwork).
- Slide the new filter into the slot until it sits fully square inside the frame housing.
- Re-secure the cabinet door panel or return grille latches firmly.
- Restore power at the thermostat, check airflow from supply vents, and write the current date on the filter frame for tracking.
If you ever run into heating issues during winter or cooling challenges during summer, explore our specialized Heating Services or comprehensive Cooling Services to keep your system performing seamlessly.
Automotive Engine Air Filter Replacement Guide
Your vehicle's internal combustion engine relies on a clean stream of fresh air to mix with fuel for proper combustion. Just as your home furnace requires clean airflow, an engine air filter prevents highway dust, dirt, leaves, and road grit from entering sensitive internal cylinders and mass air flow (MAF) sensors.
A clogged automotive air filter starves the engine of oxygen, triggering misfires, rough idling, sluggish acceleration, reduced fuel economy, and potential check engine warnings. Performing a visual test is easy: pull the engine filter element and hold it up toward a bright light bulb or sunny sky. If light fails to pass through the pleated paper layers easily, the filter is saturated with dirt and requires immediate replacement.
For detailed DIY vehicle guides and manufacturer specifications, review How to Replace Your Car's Air Filter and official user documentation on Replacing air cleaner filter .
How to Perform a Car Air Filter Replacement
Changing an engine air filter is a straightforward automotive DIY job that takes under 20 minutes with simple household hand tools:
- Park your car on flat, level ground, shift into Park (or First Gear for manual transmissions), set the emergency brake, turn off the ignition, and let the engine cool completely.
- Pop the hood safety latch and secure the hood prop rod in place.
- Locate the black plastic engine air box housing, usually situated near the front or side of the engine compartment attached to a wide intake hose.
- Unclip the metal retaining clamps or remove the housing screws using a screwdriver or socket wrench.
- Lift the air box lid gently and extract the dirty filter element.
- Wipe out loose sand, leaves, and dirt from the bottom of the empty air box using a damp shop rag, ensuring no debris drops down into the open intake tube.
- Insert the brand-new engine filter element, making sure the flexible rubber perimeter seal seats flat inside the housing grooves without pinching.
- Lower the air box lid back into place, re-secure all clips or screws tightly, and start the engine for 20 seconds to confirm there are no loud whistling sounds indicating air leaks.
Reusable vs. Disposable: Can You Clean Your Air Filter?
Homeowners often ask whether washing an air filter or blowing it clean with compressed air is better than buying new disposable elements. While washable electrostatic air filters exist, they come with maintenance risks if handled incorrectly.
Washable filters feature aluminum or synthetic frames with plastic woven media that can be rinsed clean with garden hose pressure. However, washable filters must dry 100% completely before being reinserted into an HVAC system. Reinstalling a damp washable filter into dark ductwork introduces moisture directly into your system, creating an ideal breeding ground for toxic mold and mildew colonies that spread throughout indoor living spaces.
Attempting to clean standard paper or fiberglass disposable filters using shop vacuums or compressed air is also risky. High-pressure air blasts rupture microscopic fiber weaves, creating tiny tears in the filter media. While the filter may look visually cleaner, these torn channels allow airborne dust to stream straight into your motor and living spaces. In extreme cases, high pressure weakens cardboard frames, causing structural filter collapse under normal system suction.
Avoid these common mistakes when dealing with home and auto air filters:
- Forcing improperly sized filters into cabinet slots, causing frames to buckle and air to bypass.
- Installing filters backward with airflow arrows pointing away from the blower unit, causing structural media collapse.
- Reinstalling washable filters while still damp, risking severe mold growth.
- Blasting disposable filters with compressed air, tearing fine fiber weaves.
- Neglecting regular replacement schedules during home renovation projects, allowing drywall dust to clog cooling coils.
Air Filter Replacement Tips for Chicago-Area Homes
Homes in Chicago's western and southwest suburbs put their HVAC systems through two demanding seasons. The furnace runs for months in winter with windows closed tight, and the air conditioner works through humid summers when pollen and outdoor dust find their way inside. Both seasons load up the air filter faster than many homeowners expect.
Where to Find the Filter in Your System
If you are not sure where your current filter lives, check these common locations before you shop for a replacement:
- A slot in the return air duct right next to the furnace, often covered by a thin metal or plastic door.
- Inside the furnace cabinet, behind the lower blower compartment panel.
- Behind a large return air grille on a wall or ceiling, which is common in homes with an air handler in a closet or attic.
- In a dedicated 4- or 5-inch media cabinet mounted between the return duct and the furnace.
Some homes have more than one return grille with a filter, so look around before assuming there is only one.
Practical Habits That Make Replacement Easy
- Buy in multipacks. Keeping two or three spare filters of the correct size on hand means you never put off an air filter replacement because the store is out of stock.
- Write the size on the furnace. A note with the exact dimensions and MERV rating on the cabinet saves time for you and for anyone else in the household.
- Check at the start of each season. Inspecting the filter when you switch from heating to cooling, and again in the fall, catches overloaded filters before peak demand.
- Replace after messy projects. Drywall sanding, floor refinishing, or a basement cleanout can clog a new filter in days.
If you are considering a higher MERV rating, the EPA's explanation of MERV ratings is a helpful reference. A technician can also confirm whether your blower can handle a denser filter without restricting airflow. For help, call New Comfort Heating and Cooling at (708) 717-9995.
Frequently Asked Questions
To assist homeowners with quick answers, check our comprehensive HVAC FAQ or review these frequently asked questions below.
How often should you change your home HVAC air filter?
As a general rule, standard 1-inch to 2-inch residential air filters should be replaced every 30 to 90 days. However, your specific household environment dictates the ideal schedule:
- Single occupant, no pets: Replace every 90 days.
- Average suburban home with one dog or cat: Replace every 60 days.
- Multiple pets or family members with severe allergies or asthma: Replace every 30 to 45 days.
- Deep 4-inch or 5-inch media filters: Replace every 6 to 12 months.
- Active home remodeling or drywall projects: Inspect weekly and replace monthly to manage fine construction dust.
What MERV rating is best for residential systems?
For most modern residential heating and cooling systems, a MERV rating between MERV 8 and MERV 11 offers an ideal balance between superior particle removal and safe airflow levels. MERV 8 filters excel at capturing standard dust, pollen, and mold spores. MERV 11 filters provide added capture capacity for pet dander and fine auto emissions without causing excessive pressure drops across your blower motor. While MERV 13 filters offer exceptional filtration for smoke and fine particles, verify that your equipment can handle higher airflow resistance before installing them.
What are the main signs that your air filter needs replacement?
You can identify an overdue air filter by keeping an eye out for several key indicators:
- Visible dark grey dust, lint, and hair coating the filter surface.
- Holding the filter up to a bright light source shows zero light transmission through the media layers.
- Weak airflow coming out of supply vents across your home.
- Unexplained increases in monthly electric or gas heating bills.
- Dust accumulating rapidly on furniture surfaces shortly after cleaning.
- Your furnace or air conditioner running longer cycles to meet set thermostat temperatures.
Conclusion
Regular air filter replacement is one of the easiest ways to safeguard your home's indoor air quality, maintain comfortable temperatures, and protect heating and cooling equipment from unnecessary wear. By measuring your cabinet opening, choosing a compatible filter depth, selecting an appropriate MERV rating, and ensuring correct airflow orientation during installation, you keep your system running smoothly year-round.
When you need personalized guidance on filter sizing, advanced air purification upgrades, or comprehensive seasonal maintenance tune-ups, our experienced technicians at New Comfort Heating and Cooling are always ready to help. Explore our dedicated Indoor Air Quality Services to learn how custom filtration solutions can transform your indoor environment.