AO Smith Water Heater Repair Made Simple Without the Expensive Callout
Start With a Safe A.O. Smith Water Heater Check
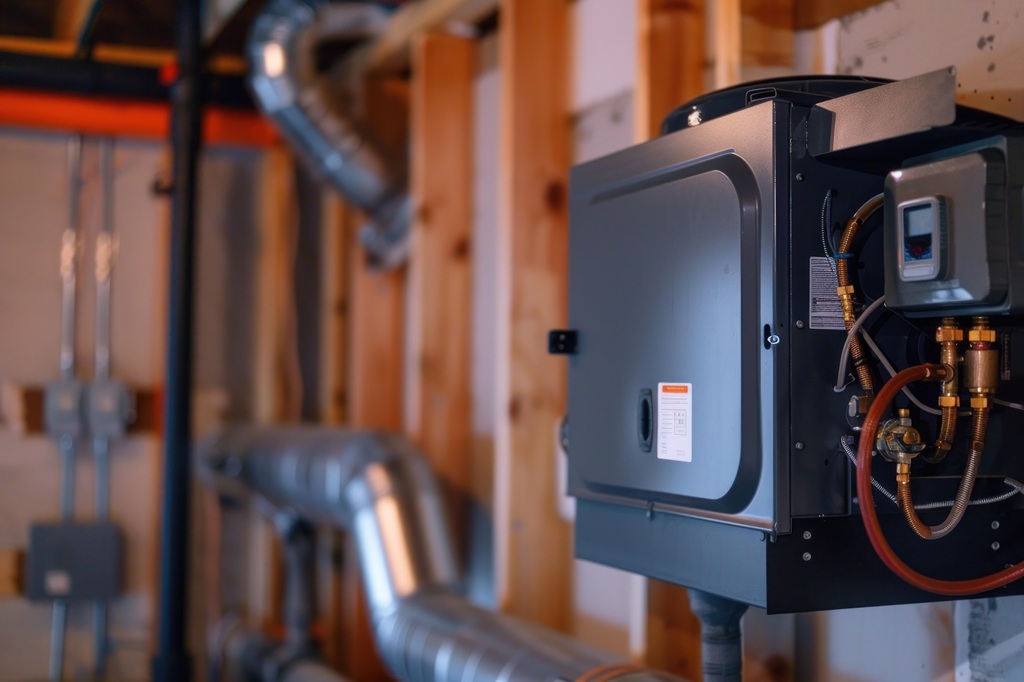
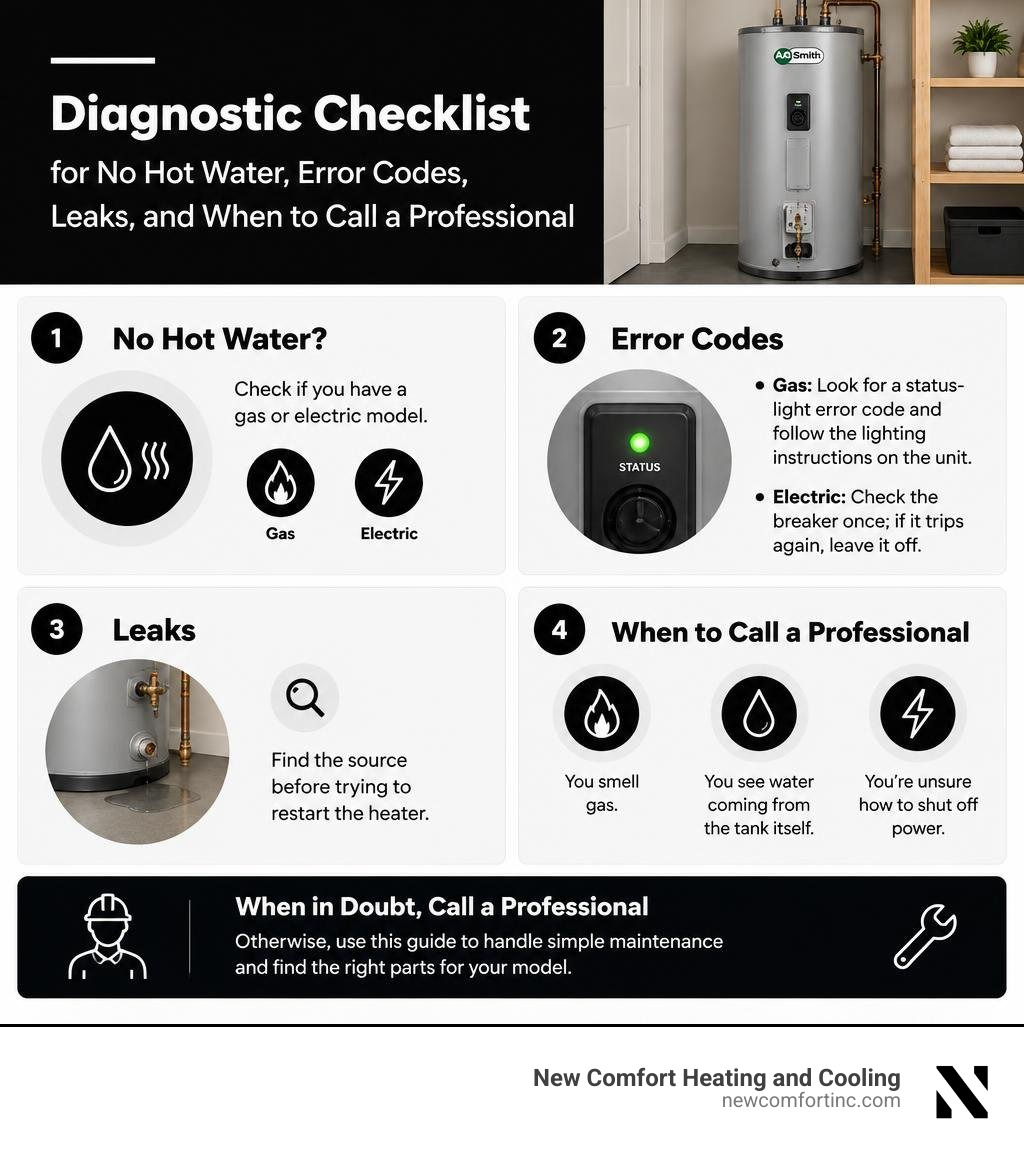
No hot water? First, check whether you have a gas or electric model. For a gas heater, look for a status-light error code and follow the lighting instructions printed on the unit. For an electric heater, check the breaker once; if it trips again, leave it off. If you see a leak, find its source before trying to restart the heater.
Stop and call a professional if you smell gas, see water coming from the tank itself, or are unsure how to shut off power. Otherwise, this guide will help you narrow down the problem, handle simple maintenance, and find the right parts for your model.
Relevant articles related to ao smith water heater repair:
Essential Safety Protocols and Error Code Diagnostics
Before taking a single panel off your heater, you must make safety your absolute baseline. Water heaters combine high-voltage electricity or combustible gas with scalding water under pressure. Rushing into a repair without isolating your utility supplies can lead to severe personal injury, water damage, or carbon monoxide accumulation.
Whenever you are troubleshooting gas control valves or reviewing combustion technicalities, referring directly to the A.O. Smith residential service handbook helps verify manufacturer-specific clearances, gas pressures, and burner specifications.
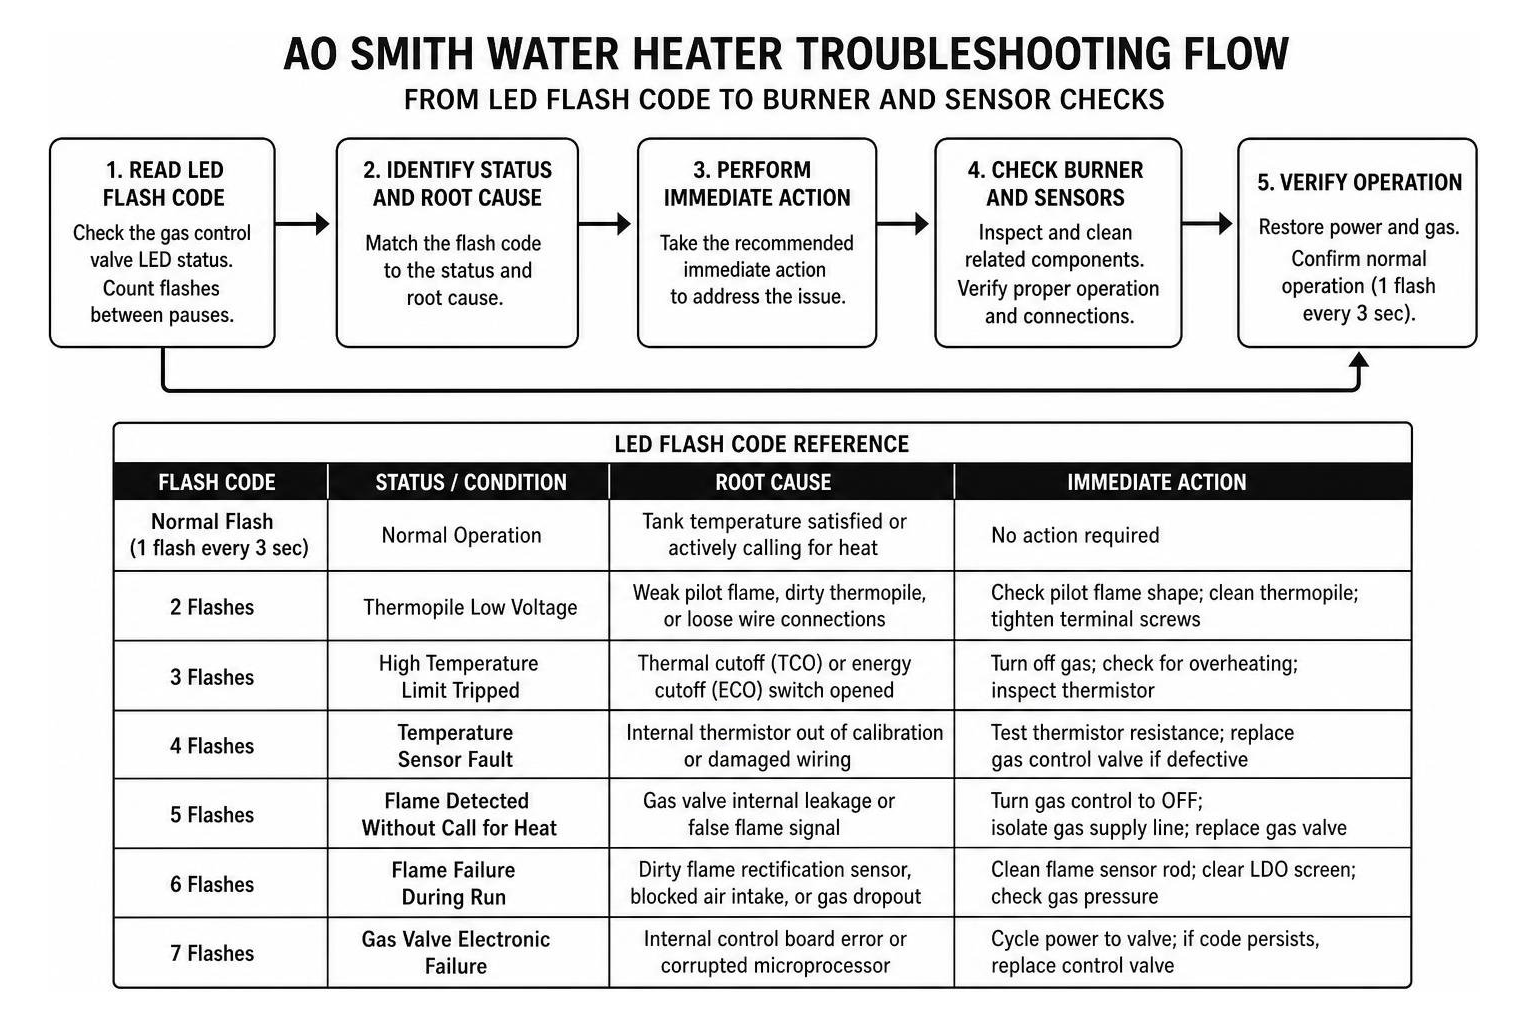
| Flash Code Sequence | Status / Condition | Root Cause | Immediate Action |
|---|---|---|---|
| Normal Flash (1 flash every 3 sec) | Normal Operation | Tank temperature satisfied or actively calling for heat | No action required |
| 2 Flashes | Thermopile Low Voltage | Weak pilot flame, dirty thermopile, or loose wire connections | Check pilot flame shape; clean thermopile; tighten terminal screws |
| 3 Flashes | High Temperature Limit Tripped | Thermal cutoff (TCO) or energy cutoff (ECO) switch opened | Turn off gas; check for overheating; inspect thermistor |
| 4 Flashes | Temperature Sensor Fault | Internal thermistor out of calibration or damaged wiring | Test thermistor resistance; replace gas control valve if defective |
| 5 Flashes | Flame Detected Without Call for Heat | Gas valve internal leakage or false flame signal | Turn gas control to OFF; isolate gas supply line; replace gas valve |
| 6 Flashes | Flame Failure During Run | Dirty flame rectification sensor, blocked air intake, or gas dropout | Clean flame sensor rod; clear LDO screen; check gas pressure |
| 7 Flashes | Gas Valve Electronic Failure | Internal control board error or corrupted microprocessor | Cycle power to valve; if code persists, replace control valve |
Pre-Repair Safety Inspections and Power Isolation
Isolating your equipment correctly prevents accidents. Follow these non-negotiable steps before touching your unit:
- Gas Isolation: Turn the gas control knob on top of the thermostat valve to the
OFFposition. Rotate the manual inline gas shutoff valve (located on the black iron pipe feeding the heater) one-quarter turn so the handle sits perpendicular to the pipe. - Electrical Disconnect: For electric models, flip the dedicated double-pole breaker in your main electrical panel to the
OFFposition. For power-vented gas units, unplug the blower draft motor from the wall outlet. - Voltage Testing: Never assume a circuit is dead. Remove the upper electrical junction box cover or element panel and verify zero voltage across all terminals using a reliable non-contact voltage tester or a digital multimeter.
- Water Shutoff: If you plan to drain or open the plumbing system, shut off the cold water supply valve located above the tank.
- Cool-Down Period: Allow the tank water and combustion chamber to cool down for at least 30 minutes before handling internal components or opening access doors.
- Combustion Air Check: Ensure the area surrounding the base of the heater is free from lint, paint cans, and combustible storage that could choke the intake air.
Reading Gas Valve Status Lights and Error Codes
Modern A.O. Smith gas water heaters utilize advanced Honeywell or ProLine intelligent gas control valves. These units feature an integrated LED status light that communicates diagnostics through a series of flashes.
Under normal operation, the LED emits a steady green heartbeat pulse once every three seconds, indicating that the pilot is lit and the system is ready to fire. When an operational fault occurs, the light switches to an active error code sequence (flashing between 2 and 7 times, pausing, and repeating).
If your heater short-cycles—meaning the main burner ignites but extinguishes after 4 to 7 seconds—you will often see a 6-flash code. This points to a weak flame rectification signal. If the system experiences severe overheating, a 3-flash code signals that the thermal cutoff has opened to prevent structural steam expansion.
Step-by-Step AO Smith Water Heater Repair for Common Failures
Executing an ao smith water heater repair on your own is entirely achievable when you follow structured, component-level workflows. Armed with basic hand tools and a digital multimeter, you can resolve the majority of heating failures without unnecessary downtime. If you want to expand your maintenance routine across all your home utility equipment, check out our DIY gas water heater maintenance guide for broader tune-up practices.
Gas System AO Smith Water Heater Repair: Pilot, Thermocouple, and Sensor
Gas water heaters rely on a precisely balanced pilot, flame sensor, and safety circuit. When these components accumulate carbon or oxidation, ignition fails.
1. Relighting the Pilot
- Turn the gas control knob to
PILOT. - Depress the knob fully and hold it down to allow gas to reach the pilot orifice.
- While holding the knob down, repeatedly press the piezo igniter button until the pilot sparks and lights (visible through the sight glass).
- Keep holding the knob down for 60 to 90 seconds until the thermopile generates enough millivolts to hold the internal safety magnet open.
- Release the knob slowly; the status light should begin flashing green. Turn the knob to your desired temperature setting.
2. Testing and Replacing the Thermocouple/Thermopile
A standard thermocouple must produce at least 13 millivolts of DC current under load (and over 20 millivolts open-circuit) to keep the safety valve open; electronic thermopiles produce between 350 and 750 millivolts.
- Set your multimeter to DC millivolts.
- Connect your test leads across the thermocouple terminals.
- If the reading drops below threshold while bathed in a healthy blue pilot flame, loosen the retaining nut with a 7/16-inch open-end wrench, slide out the old sensor, and snap a new OEM assembly into the burner bracket.
3. Cleaning the Flame Sensor
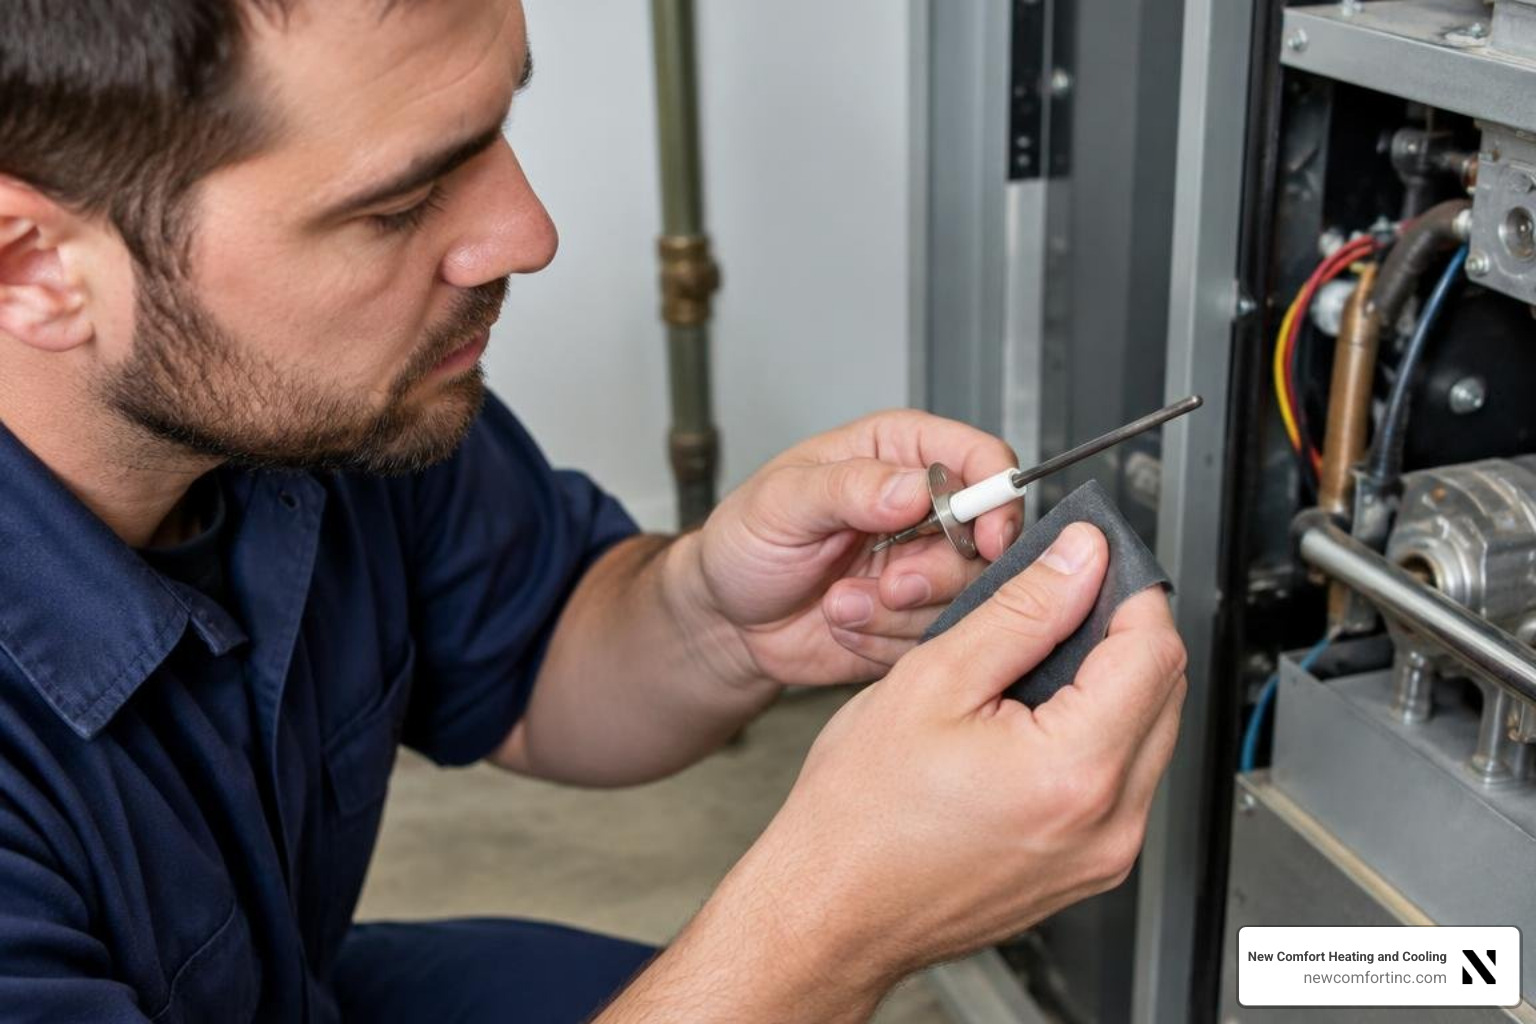
To understand the detailed physics of flame rectification and sensor maintenance, you can review this guide on cleaning AO Smith flame sensors. Over time, microscopic silica and carbon form an insulating layer over the sensor rod.
- Shut off gas and power, then remove the outer door and inner burner access panel screws using a 1/4-inch or 5/16-inch nut driver.
- Disconnect the pilot tube, thermocouple, and spark wire from the bottom of the gas valve.
- Slide out the entire burner assembly carefully.
- Gently buff the metal sensor rod using 400-grit sandpaper, fine steel wool, or emery cloth until it turns bright silver. Never use coarse sandpaper or chemical degreasers.
- Always replace the burner manifold door gasket when reinstalling the assembly to prevent false air drafts from disrupting combustion.
4. Maintaining LDO Screens and Flame Arrestors
A.O. Smith C3 Technology models incorporate Flammable Vapor Ignition Resistant (FVIR) standards with a bottom-mounted Lint, Dust, and Oil (LDO) screen and a ceramic flame arrestor. If lint clogs this screen, the burner starves for oxygen, producing a lazy yellow flame and tripping the thermal switch. Use a mirror, flashlight, and shop vacuum to inspect and clear the intake ports beneath the heater.
Additionally, stay informed on safety recalls by reviewing historical CPSC safety recall documentation, which noted that roughly 616,000 units manufactured between April 2011 and December 2016 developed torn burner screens that created radiant heat hazards on combustible floors.
Electric System AO Smith Water Heater Repair: Elements and Thermostats
Electric water heaters use an upper and lower heating element regulated by dual thermostats. When an element fails, cold or rapidly depleting water is the classic symptom.
1. High-Limit ECO Reset
If your electric heater has no hot water at all, the red Energy Cutoff (ECO) button on the upper thermostat may have tripped due to an overheating condition.
- Turn off the main circuit breaker.
- Remove the upper access panel and fold back the fiberglass insulation.
- Firmly press the red
RESETbutton. If it clicks, the circuit was open. If it trips repeatedly after restoring power, you have a grounded heating element or a stuck thermostat.
2. Testing Heating Elements with a Multimeter
- Verify power is completely disconnected at the breaker with your voltage tester.
- Disconnect one wire lead from the element terminals to isolate it from the circuit.
- Set your multimeter to Ohms (resistance, Ω).
- Place one test probe on each of the two screw terminals. A standard 4,500-watt, 240-volt element should measure between 12 and 13 ohms of resistance. A reading of infinity (O.L.) means the internal filament is broken.
- Test for electrical grounding: place one probe on a terminal screw and the other on the metal tank body. Your meter must read infinity (O.L.). Any ohm reading indicates a dangerous short circuit.
3. Replacing a Failed Element
- Turn off the cold water supply valve and drain the tank water below the level of the element being replaced.
- Disconnect both terminal wires.
- Slip a 1-1/2-inch water heater element socket wrench over the element hex head and turn counterclockwise to unthread it.
- Ensure the old rubber gasket is removed from the tank spud.
- Lubricate the new O-ring gasket with clean water, thread the new OEM element in by hand, and tighten securely with your socket wrench.
- CRITICAL: Completely refill the tank with water and open a hot water faucet until all air purges before restoring power. Energizing an element without full water submersion causes instant dry-fire destruction in less than 5 seconds.
Fixing Tank Leaks, Sediment Buildup, and Dip Tube Problems
Hydraulic and mineral issues can mimic component failures. Tracking down leaks and maintaining tank volume ensures you extract full performance from your water heater.
Diagnosing Top and Bottom Tank Leaking Points
Water pooling around your heater does not always mean the tank has reached its end of life. Systematically track the moisture to find its true origin:
- Top Fittings and Pipe Nipples: Check the cold water inlet and hot water outlet dielectric unions. Thermal cycling can loosen threaded connections. Tightening or rebuilding the Teflon tape and pipe dope joints often solves the issue.
- Temperature and Pressure (T&P) Relief Valve: Located on the top or upper side of the tank, this valve releases pressure above 150 PSI or temperature above 210°F. If it drips constantly, test your home water pressure and inspect your thermal expansion tank. Review our guide on expansion tank repairs to prevent high system pressure from blowing your safety valves.
- Drain Valve Seepage: Factory plastic drain valves easily crack or trap sediment in their seats. Replacing a plastic drain valve with a full-port brass ball valve creates a leak-free seal.
- Internal Tank Rupture: If water seeps directly from the bottom metal casing, beneath the outer insulation jacket, or from the combustion chamber base, the internal glass-lined steel tank has corroded through. This is structurally unrepairable and requires complete tank replacement.
Flushing Tank Sediment to Stop Rumbling and Popping
Water heaters operating in hard water regions accumulate calcium carbonate and magnesium scale at the bottom of the tank. As the burner fires through this thick mineral blanket, trapped water superheats and boils into steam bubbles, generating loud popping, rumbling, or kettle-like noises.
To maintain efficiency and keep your equipment running smoothly, you should incorporate routine gas water heater maintenance into your annual schedule.
- Turn off the gas control valve or flip the electric breaker.
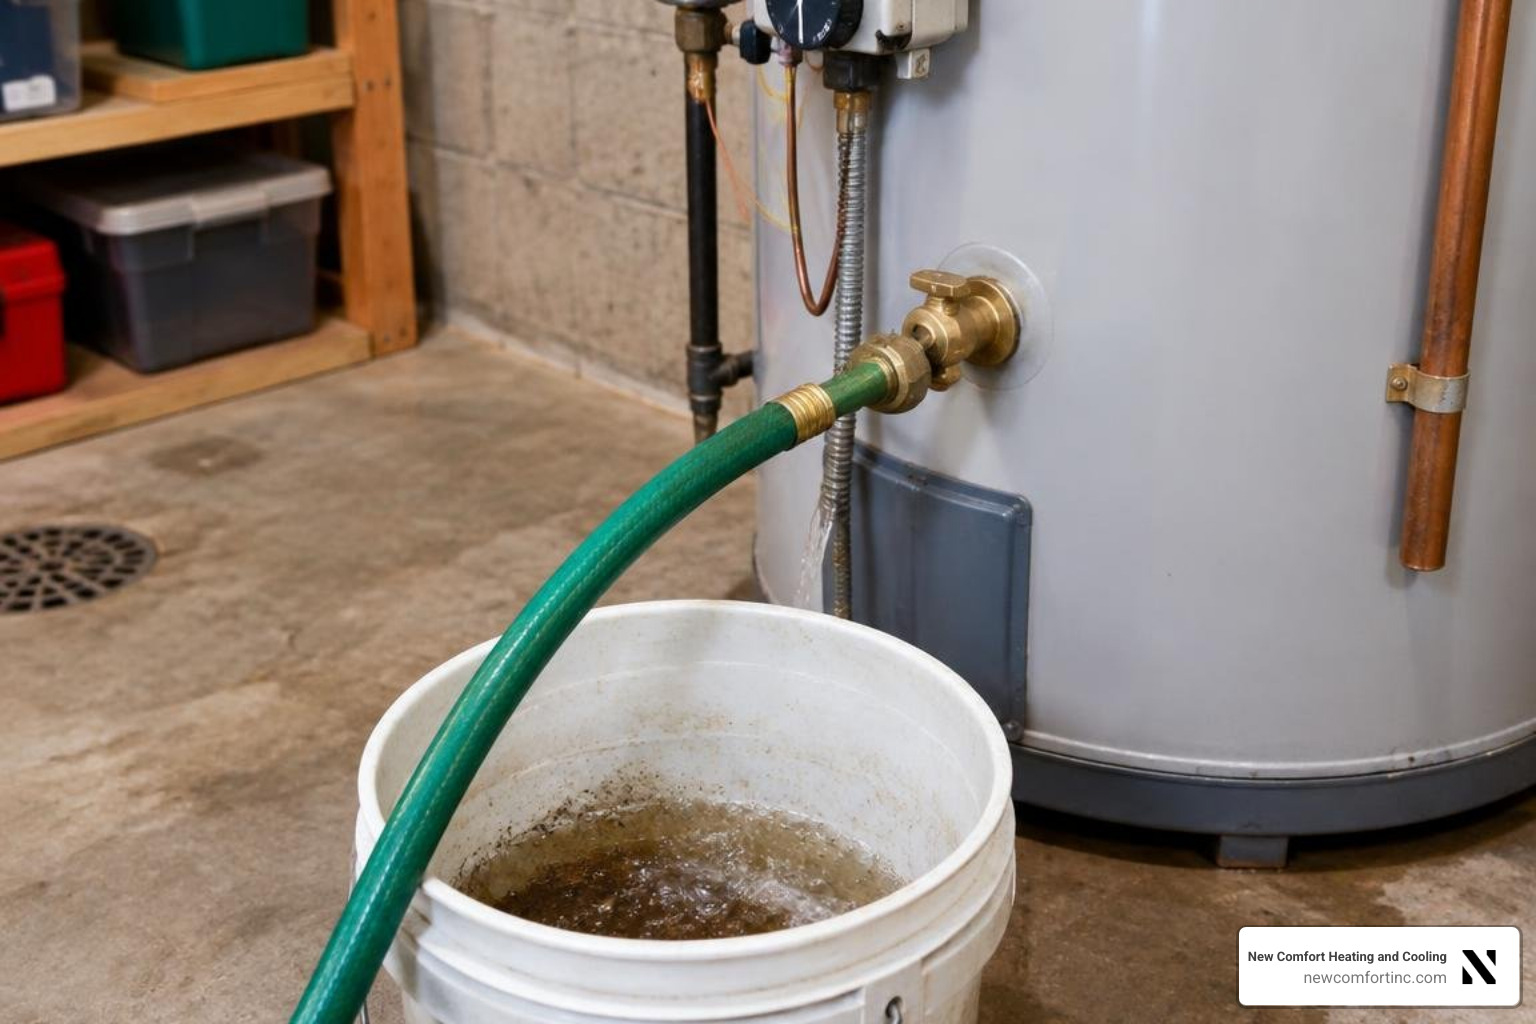
- Attach a heavy-duty garden hose to the lower drain valve and run the open end outside or to a floor drain.
- Open the drain valve fully.
- Keep the cold water inlet supply valve open for the first few minutes; this incoming pressure agitates and blasts hardened sediment chunks out of the drain port.
- Once water runs clear, close the drain valve, disconnect your hose, bleed air from the highest household faucet, and restore power.
Replacing a Degraded or Broken Dip Tube
The dip tube is a long plastic pipe inside the cold water inlet that directs incoming cold water straight to the bottom of the tank for heating.
When a dip tube degrades, cracks, or snaps off near the top, incoming cold water mixes directly with hot water leaving the top outlet nipple. This results in warm water running out in just a few minutes, even though the burner and thermostats work perfectly. You may also find small white plastic fragments clogging your faucet aerators and showerheads.
To replace it:
- Shut off the cold water supply and relieve pressure by opening a hot water tap.
- Disconnect the cold water supply pipe above the heater.
- Use a pipe wrench to unthread the cold inlet pipe nipple.
- Pull the old dip tube out of the tank port.
- Slide a new OEM cross-linked polyethylene (PEX) dip tube with an integrated gasket down into the opening.
- Reinstall the pipe nipple with fresh thread sealant and reconnect your plumbing lines.
Decoding Age, Verifying Warranty Status, and Sourcing OEM Parts
Accurate diagnostic work requires verifying your heater's age and part numbers before ordering replacement components.
Deciphering Serial Numbers and Manufacturing Dates
A.O. Smith encodes the exact manufacturing date into the serial number located on the silver rating data plate. You can cross-reference your specific sequence using a comprehensive AO Smith serial number decoding guide.
On standard 10-digit serial numbers, the first four digits identify the production timeline:
- Digits 1 and 2: The two-digit calendar year of manufacture (for example,
18represents 2018;22represents 2022). - Digits 3 and 4: The calendar week of manufacture (ranging from
01to52). - Example: A serial number starting with
1942XXXXXXXXwas built during the 42nd week of October 2019.
Knowing this date is critical: if your tank is over 10 to 12 years old and facing an expensive component breakdown, replacement is generally wiser than sinking time into repairs.
Navigating Factory Warranty Coverage and Labor Limits
A.O. Smith residential water heaters typically come with limited factory warranties covering the inner tank and functional parts for 6, 8, or 10 years from the installation date (or manufacturing date if unverified).
You can check your active coverage directly through the AO Smith official warranty portal. That factory warranties cover replacement parts or replacement tanks on a prorated basis, but labor costs are almost universally excluded after the first year of operation.
Finding Exact OEM Components Using Model Numbers
Never rely on generic hardware store parts for safety-critical assemblies like gas valves, high-limit switches, or electronic thermopiles.
To source exact OEM components:
- Photograph the entire silver rating data plate on the side of your tank.
- Note your complete Model Number (e.g.,
GCRC-40-200) and 10-digit Serial Number. - If you run into complex part supersessions or need factory schematics, review these tips on contacting AO Smith technical support to quickly reach representatives with your exact data plate details ready.
When to Call a Licensed Technician for Service
While regular maintenance and sensor cleanings make rewarding DIY projects, certain scenarios demand immediate professional intervention to protect your home and family:
- Any Odor of Raw Natural Gas or Propane: If you smell rotten eggs, do not flip any light switches or attempt to light the pilot. Evacuate your home immediately and call your gas utility provider and an emergency technician from outside.
- Water Leaking from the Lower Tank Casing: Structural steel corrosion cannot be patched, welded, or sealed with epoxy. When the inner tank vessel breaches, consult our guide on finding reliable emergency water heater services for immediate changeout.
- Sooting or Carbon Monoxide Alarms: Black soot deposits around the draft hood, burner door, or vent pipe joints indicate dangerous incomplete combustion.
- Complex Electrical or Gas Valve Replacements: If your multimeter diagnostics reveal an internal microprocessor failure in the gas control valve or an intermittent circuit fault you are uncomfortable wiring, browse our HVAC and plumbing FAQ for guidance on professional repair standards.
Our certified technicians at New Comfort Heating and Cooling provide prompt residential and commercial service across Justice, IL, and the greater Chicago area, backed by 24/7 live phone support and transparent, upfront communication.
Frequently Asked Questions About AO Smith Water Heater Repair
Why does my AO Smith gas burner turn on and shut off after a few seconds?
This classic short-cycling symptom almost always points to a dirty or oxidized flame rectification sensor. When the control board fires the main burner, it expects to see a microamp electrical signal conducted through the flame to ground within 4 to 7 seconds. If carbon scale insulates the sensor rod, the control board interprets this as a flame failure and immediately shuts down the gas supply as a safety precaution. Polishing the metal sensor rod with fine abrasive cloth restores proper signal conduction.
Can I repair a leak coming directly from the bottom of the water heater tank?
No. An active leak emerging from the bottom casing or seams of the outer jacket means the internal glass-lined steel pressure vessel has corroded through. Water heater tanks cannot be welded or sealed with chemical epoxies because the internal pressures (often exceeding 50 to 80 PSI) and continuous thermal expansion will rupture any patch. A tank leaking from its internal structure must be completely replaced.
How do I reset the high-temperature cutoff switch on an electric water heater?
First, turn off the dedicated double-pole circuit breaker in your electrical service panel. Remove the upper access cover plate and fold back the protective insulation to reveal the upper thermostat. Locate the red reset button labeled ECO (Energy Cutoff). Press it firmly until you feel and hear a distinct mechanical click. Reinstall the insulation and access cover before turning the breaker back on. If the switch trips again shortly afterward, test your upper and lower heating elements for ground faults.
Conclusion
Carrying out an ao smith water heater repair does not have to be an intimidating or costly chore. By learning how to read your gas control valve's status lights, cleaning flame sensors annually, testing heating elements with a multimeter, and flushing out tank sediment, you can maintain reliable hot water while extending the lifespan of your appliance. Always prioritize your family's safety by shutting off gas and electrical connections before beginning any diagnostic work.
When you encounter complex gas valve failures, structural tank ruptures, or persistent burner lockouts in Justice or Chicago, contact New Comfort Heating and Cooling for our professional heating and water heater services to get your system running safely and efficiently.